Growing your own herbs from seeds can be a rewarding and cost-effective way to ensure a fresh supply of culinary and medicinal plants. Whether you’re a seasoned gardener or a beginner, this guide will help you navigate the process with ease.
Why Grow Herbs from Seeds?
- Cost-Effective: seeds are typically much cheaper than buying mature plants.
- Variety: catalogs in seed stores offer a wide range of herb varieties, including rare types that might not be available as plants.
- Control: growing from seed allows you to control every aspect of your plant’s growth, from germination to harvest.
Choosing Your Herbs
Before you start planting, decide which herbs you want to grow. Some popular choices include:
- Basil;
- Parsley;
- Cilantro;
- Mint;
- Thyme;
Consider your local climate and growing conditions when selecting herbs. Some herbs are perennials in warm climates but grown annually in colder areas.
Gather Supplies
You’ll need:
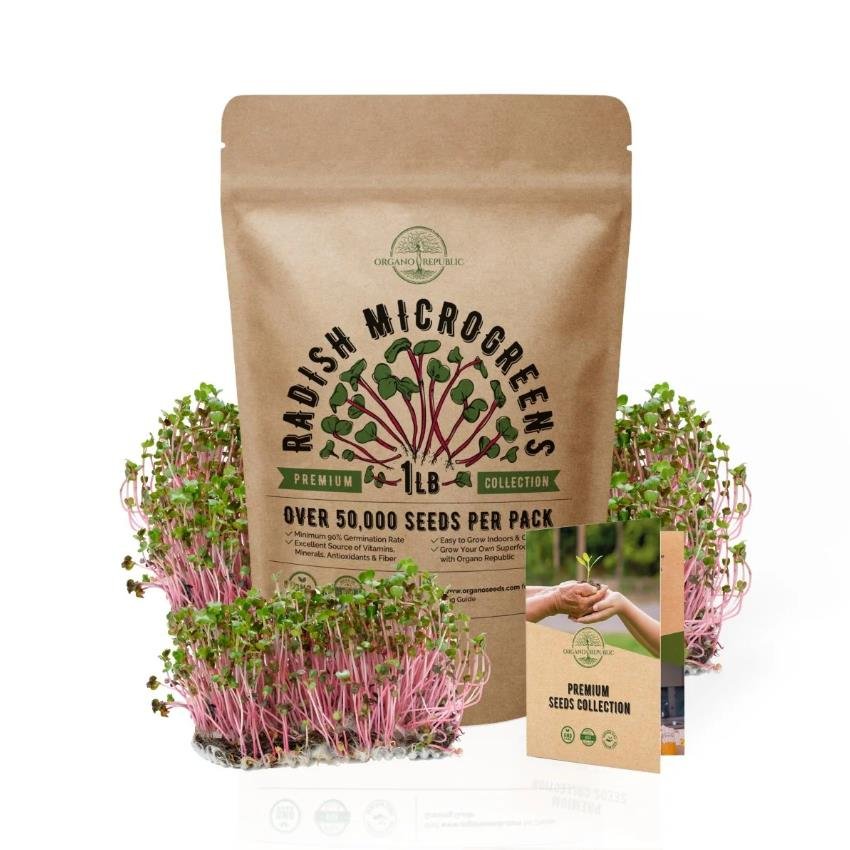
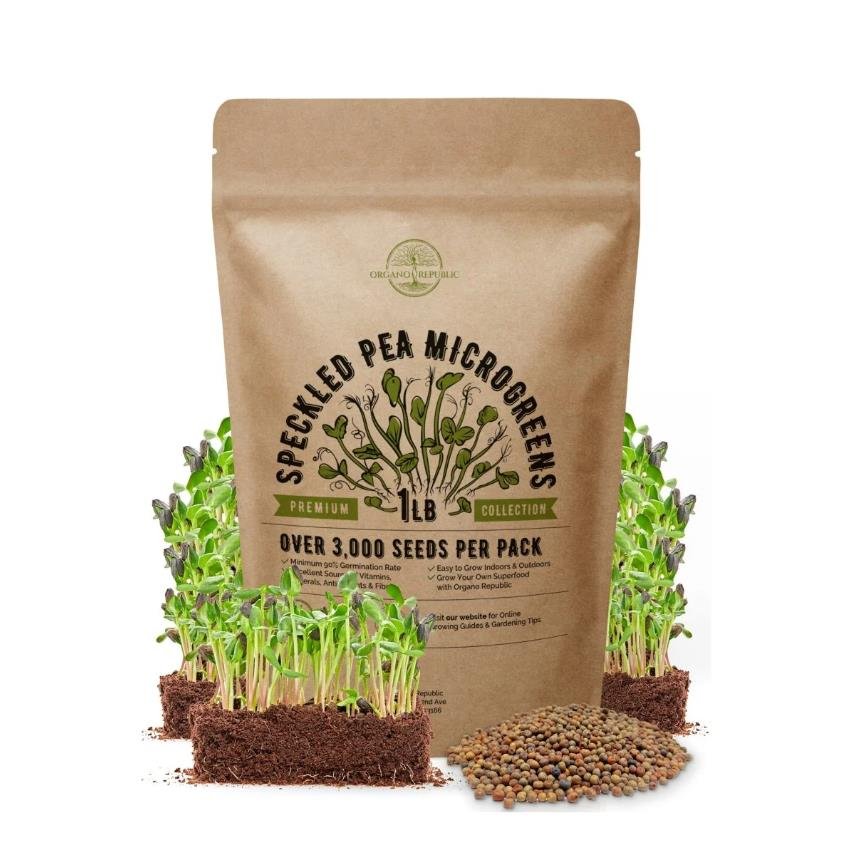
- Quality seed packets;
- Seed-starting mix or potting soil;
- Seed trays or pots;
- Labels;
- Spray bottle for watering;
- Grow lights (if indoors).
Soil Preparation
Herbs thrive in well-draining soil. Use a quality seed-starting mix or create your own by combining peat moss, vermiculite, and perlite.
Sowing Seeds
- Fill Trays or Pots: fill your trays or pots with the seed-starting mix, leaving about half an inch from the top.
- Moisten the Soil: lightly water the soil until it’s evenly moist but not soggy.
- Plant Seeds: sow seeds according to the depth recommended on the seed packet. Generally, small seeds should be planted shallowly, while larger seeds can be covered more deeply.
- Cover and Label: lightly cover the seeds with soil, then label each tray or pot with the herb name and planting date.
Germination
Place your seed trays in a warm, bright location. Most herb seeds germinate best at temperatures between 60–70°F. If growing indoors, use grow lights to ensure the seedlings get enough light.
- Watering: Keep the soil consistently moist using a spray bottle. Avoid overwatering, which can cause mold and disease.
- Humidity: Cover the trays with a plastic dome or plastic wrap to maintain humidity. Remove the cover once the seeds have germinated.
Transplanting Seedlings
When seedlings have developed two sets of true leaves, they are ready to be transplanted into larger pots or directly into the garden.
- Harden Off: Gradually acclimate seedlings to outdoor conditions by placing them outside for a few hours each day, increasing the time daily over a week.
- Transplant: Choose a sunny spot with well-draining soil. Dig a hole slightly larger than the root ball of each seedling, place the plant in the hole, and fill it in with soil. Water thoroughly.
Care and Maintenance
Herbs generally prefer slightly dry conditions. Water deeply but infrequently, allowing the soil to dry out between waterings.
Fertilizing
Feed your herbs with a balanced, organic fertilizer once a month during the growing season. Avoid over-fertilizing, which can lead to lush foliage with less flavor.
Pruning and Harvesting
Regular pruning encourages bushy growth and prevents herbs from becoming leggy. Harvest herbs in the morning after the dew has dried but before the heat of the day, when their essential oils are most concentrated.
Troubleshooting Common Issues
- Pests: watch for aphids, spider mites, and whiteflies. Use insecticidal soap or neem oil to manage infestations.
- Diseases: ensure good air circulation and avoid overhead watering to prevent fungal diseases.
By following these guidelines, you’ll be well on your way to a successful herb garden, enjoying the fresh flavors and health benefits of home-grown herbs throughout the season.

